
Get started
Before we get into specific actions like adding or removing signers, it’s important to know how to access the signer editor panel, where most of the relevant actions are completed.
The signer editor panel can be accessed through both the PDF editor panel as well as through individual signature fields. We’ll go over both methods now so you can choose your preferred method moving forward.
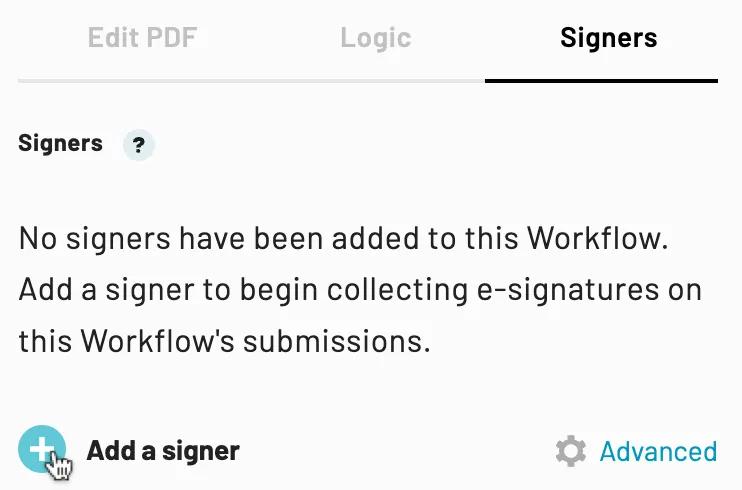
To access the signer editor through the PDF editor panel:
- Navigate to a Workflow
- Click PDF in the top navigation bar

- Select the Signers tab in the PDF editor panel

To access the signer editor through a signature field
- Navigate to a Workflow
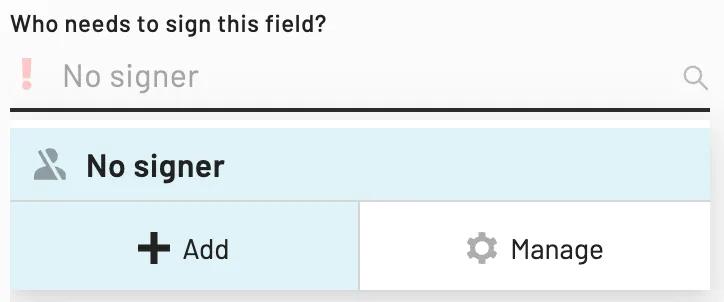
- Locate and click a signature field
- Click the dropdown menu below Who needs to sign this field?
- Click Manage

Add signers
In this section of the article, we’ll give an overview of what information you’ll need to provide in order to create a signer and walk you through the process of adding signers.
Signer settings
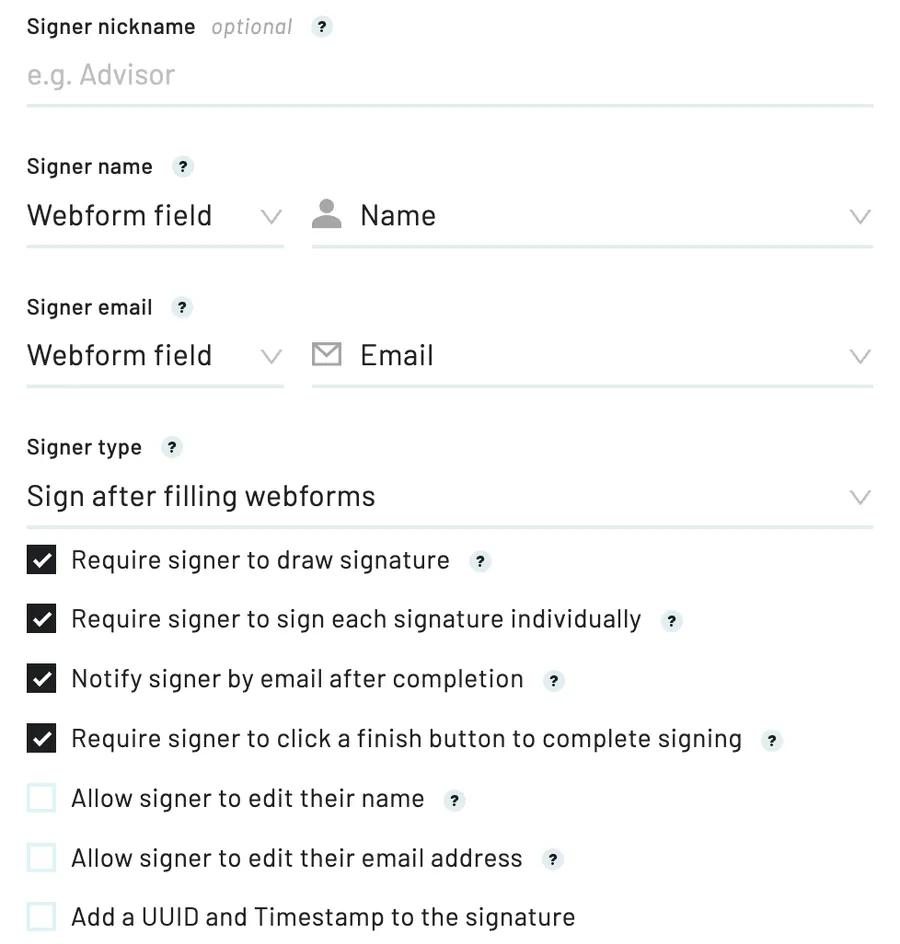
The following information and settings can be customized when adding a signer to a Workflow:
- Signer nickname (Optional) : Only appears in the Workflow editor to help you quickly distinguish between signers e.g. New Client, Cosigner, or Broker.
- Signer name: Can be populated with dynamic or literal values. Dynamic values draw from name or short text type Webform fields. Literal values are helpful if the signer is always the same person.
- Signer email: Can be populated with dynamic or literal values. Dynamic values draw from email type Webform fields. Literal values are helpful if the signer is always the same person.
- Email addresses are required for most signer types.
- Signer type*: Determines how and when the signature page is presented to the signer. Available signer types vary depending on your plan.
- Signer options*: Determines the signing experience the signer will have during the signature collection process.
* To learn more about signer options and types please see this article instead.
Why does my signer need an email?
Emails help Anvil identify and verify individual signers. Signer email addresses are also used to contact signers to request signatures and notify them when the completed documents are available for download.
Even if your documents do not require emails, you will still need to add email type fields to your Webform to collect signer emails. The email fields don't need to be connected to your documents. If not connected, collected emails will not appear in the resulting documents.
Adding signers
To add a signer to a Workflow:
- Navigate to the signer editor
- Click + Add a/another signer
- Configure your signer information and settings
- Save
Repeat the above steps to add multiple signers to your Workflow.
Note: You can also add a signer directly from a signature field by clicking the + Add button in the editor panel.
Next steps
After you’ve added a signer, you can determine which fields they will need to sign by connecting them to signature fields.
You can also add logic to signature fields to dynamically determine when they are applicable. If all of a signers' fields are hidden by logic and therefore not applicable, the signer will be skipped and e-signatures will continue to be collected for the remaining signers in their respective order.
Edit signers
After you’ve added a signer, you may need to make changes to their settings. To edit signers:
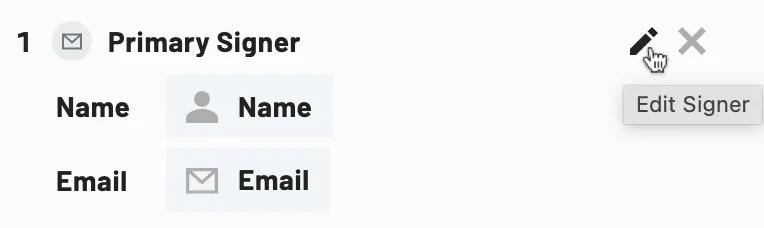
- Navigate to the signer editor
- Locate the relevant signer and click the edit button
- Make your desired changes
- Save
Note: Signer settings are configured individually. If you want to apply the same settings to all signers within the Workflow, you’ll need to edit them one by one. Alternatively, set default signer settings at the organization level.
Reorder signers
If a Workflow contains multiple signers, the numbers to the left of the signers’ name or nickname indicates the order in which they will sign. By default, signers will sign in the order that they were added. However, you can reorder signers through the signer editor.
To reorder signers in a Workflow:
- Navigate to the signer editor
- Locate the relevant signer and click and hold the move icon
- Drag the signer to the correct order and release the move icon
Note: For more advanced signing configurations, check out the progressive signing feature. Progressive signing allows you to collect signatures between Webforms, rather than waiting for all Webforms to be completed.
Remove signers
If a signer is no longer relevant or needed, you can easily remove them from your Workflow. Removing a signer will automatically disconnect all signature fields previously associated with the signer. The signature fields will remain in your PDF and can be reconnected to a different signer.
If you would like to keep the signer but disconnect them from specific signature fields see this article instead.
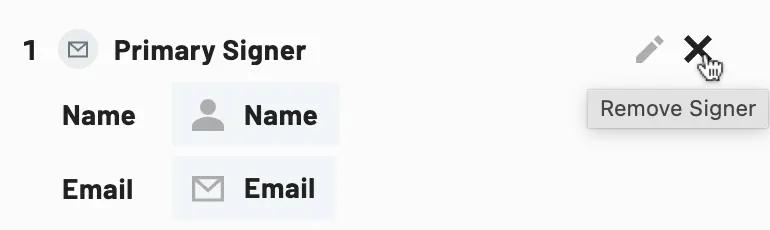
To remove signers from Workflows:
- Navigate to the signer editor
- Locate the signer you wish to remove and click the x button
- Confirm your changes