Anvil helps you make nuanced customizations to your e-signature collection process. In this article, we’ll provide an overview of each signer setting (signer options and signer types) and explain how you can use these settings to customize the signing experience for each signer.
Generally, signer options control the signer experience on the signing page and signer types determine when and how the signature page is presented to the signer.
Signer options
Signer options determine the actual signing experience each signer goes through during the signature collection process. Some options also affect signature notifications as well as what the signature looks like on the final set of documents.
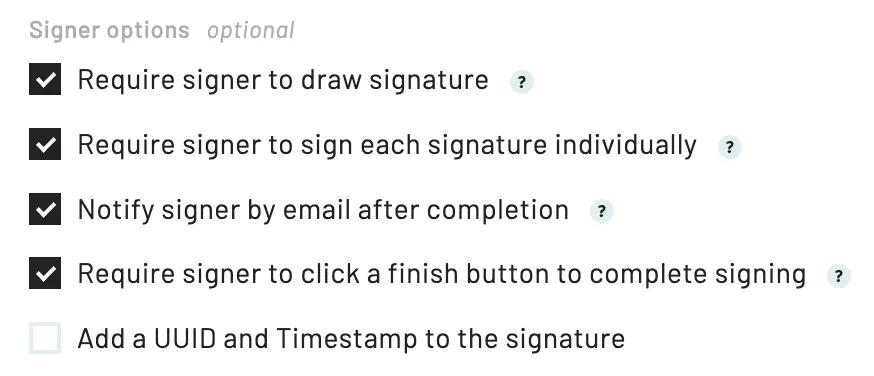
All signer options are configurable at the individual signer level and available for both Workflows and Etch packets. Currently we support the following signer options:
- Require signer to draw signature
- Require signer to sign each signature individually
- Notify signer by email after completion
- Require a signer to click a finish button to complete signing
- Add a UUID and Timestamp to the signature
Require signer to draw signature
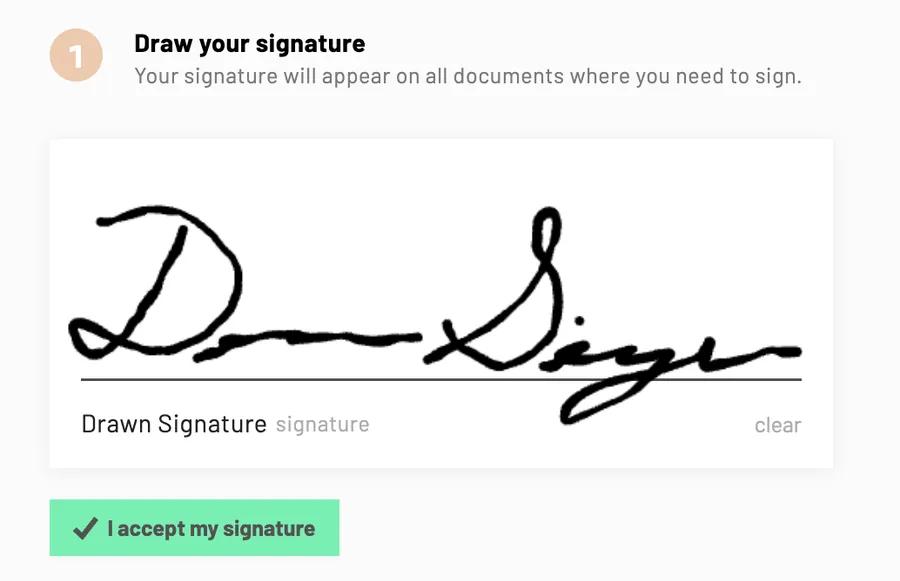
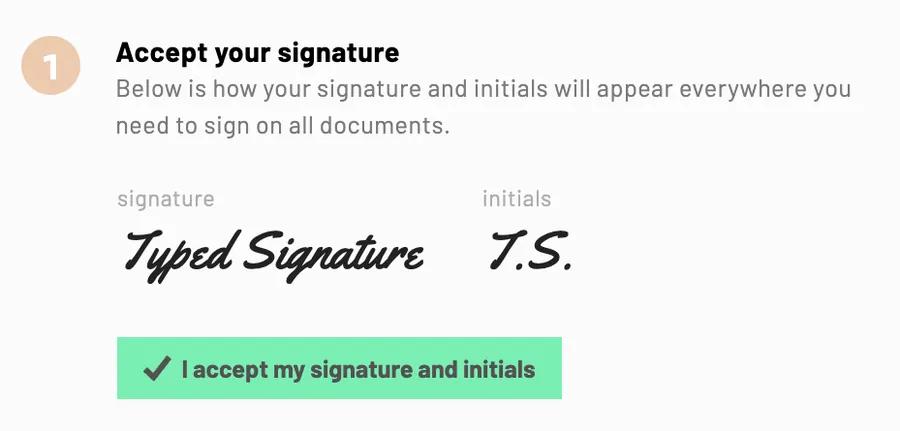
This setting controls whether signatures and initials are drawn or typed.
-
When selected, signers are required to draw their signature and signature initials with their mouse or finger. Drawn signatures are ideal for signers signing on a mobile device.
-
When not selected, a typed signature will automatically be created for the signer. This option is helpful when signers need to sign documents quickly.
Require signer to sign each signature individually
This setting determines whether or not signature fields can be individually signed. It also controls how the documents are presented to the signer.
-
When selected, a document preview will be available for users to sign. Users can select all signature fields individually or use the
sign alloption to automatically sign all documents at once. This is a good option if you want your signers to see the documents they're signing in context.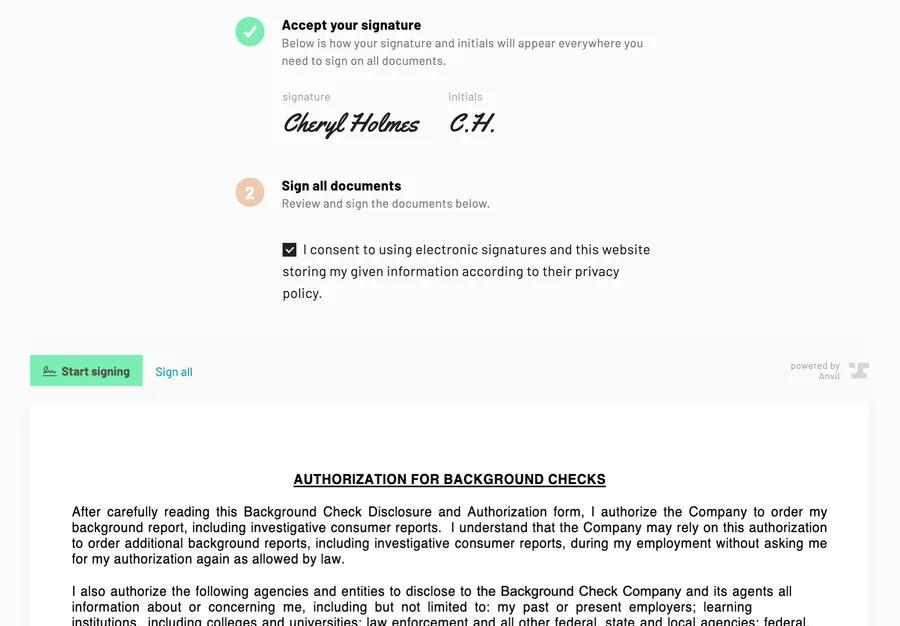
-
When not selected, documents may only be previewed through download and signers will be able to sign all documents at once. The signing process will be immediately completed after the signer clicks the
Sign documentsbutton. This is a good option if you're trying to speed up the signing process.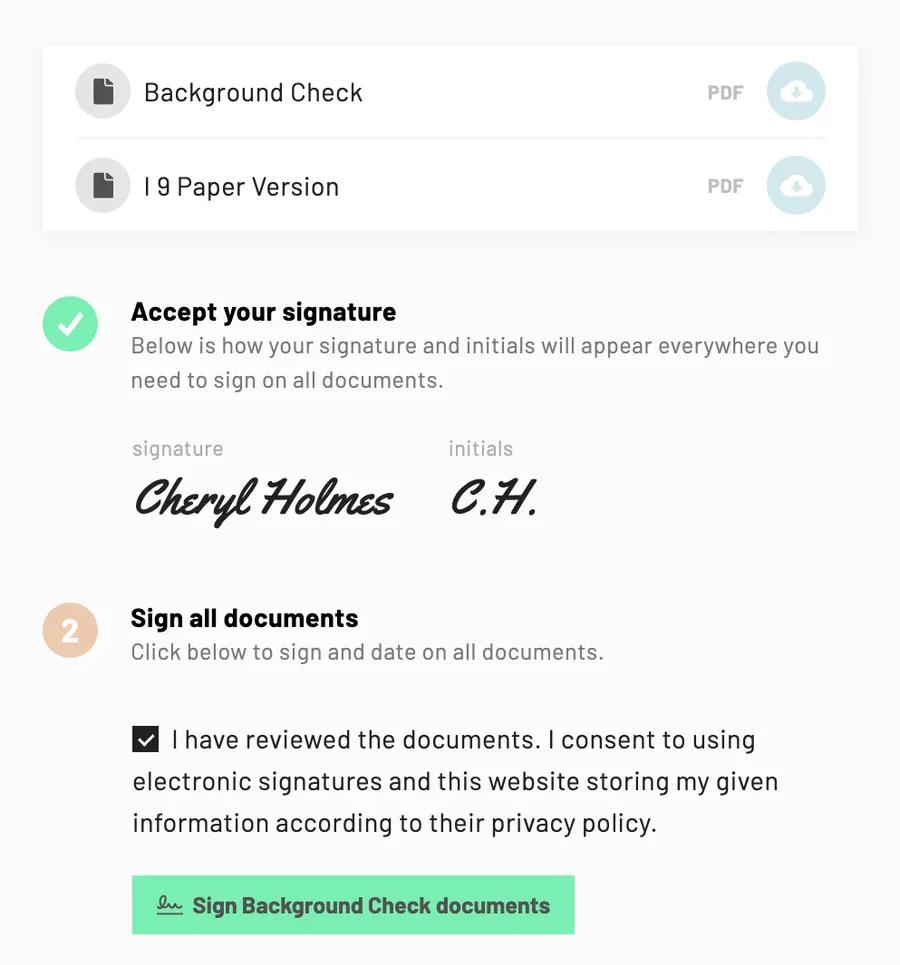
Notify signer by email after completion
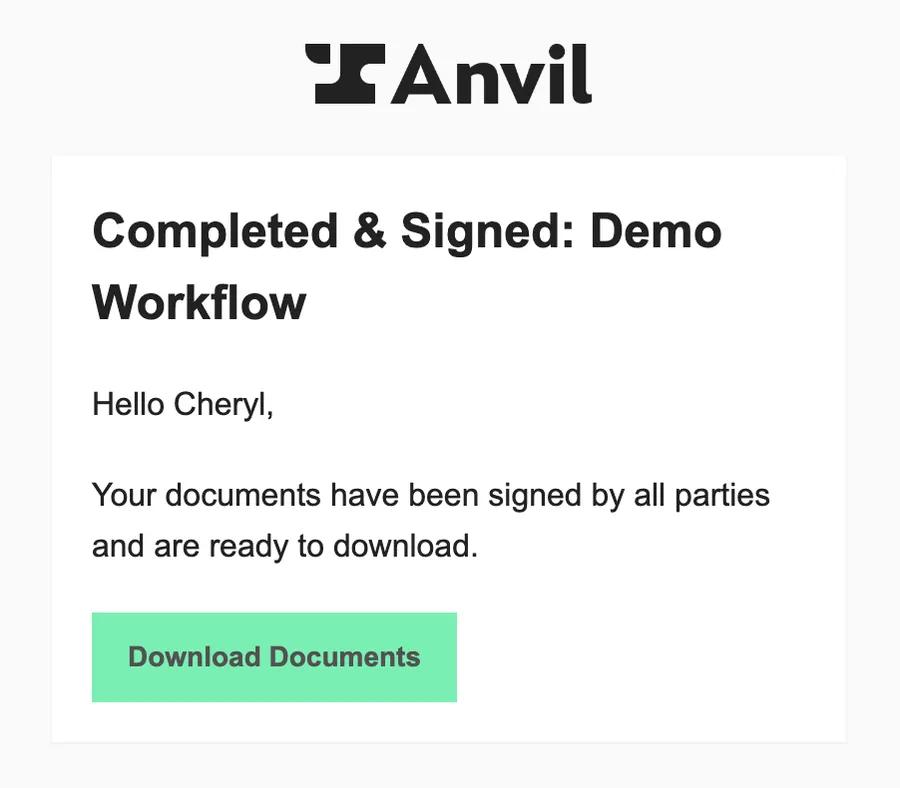
This setting determines whether or not signers will receive a completion email after documents have been signed by all parties. Please note that this controls the completion email and will not affect the initial emails that are used to notify signers when it's their turn to sign.
-
When selected, signers will receive a completion email once all signers have signed. The email will include a link to download the completed documents.
-
When not selected, signers will not receive a completion email. Depending on the signers' type, they may still receive the initial email notifying them when it's their turn to sign.
Require signer to click a finish button to complete signing
This determines whether or not signers will be required to click a finish button to complete signing. Please note that the finish button will only be visible when Require signer to sign each signature individually has also been enabled.
- When selected, signers will be required to click a finish button before they can complete signing. This is useful when you want to ensure the signer has read the entire document before signing.
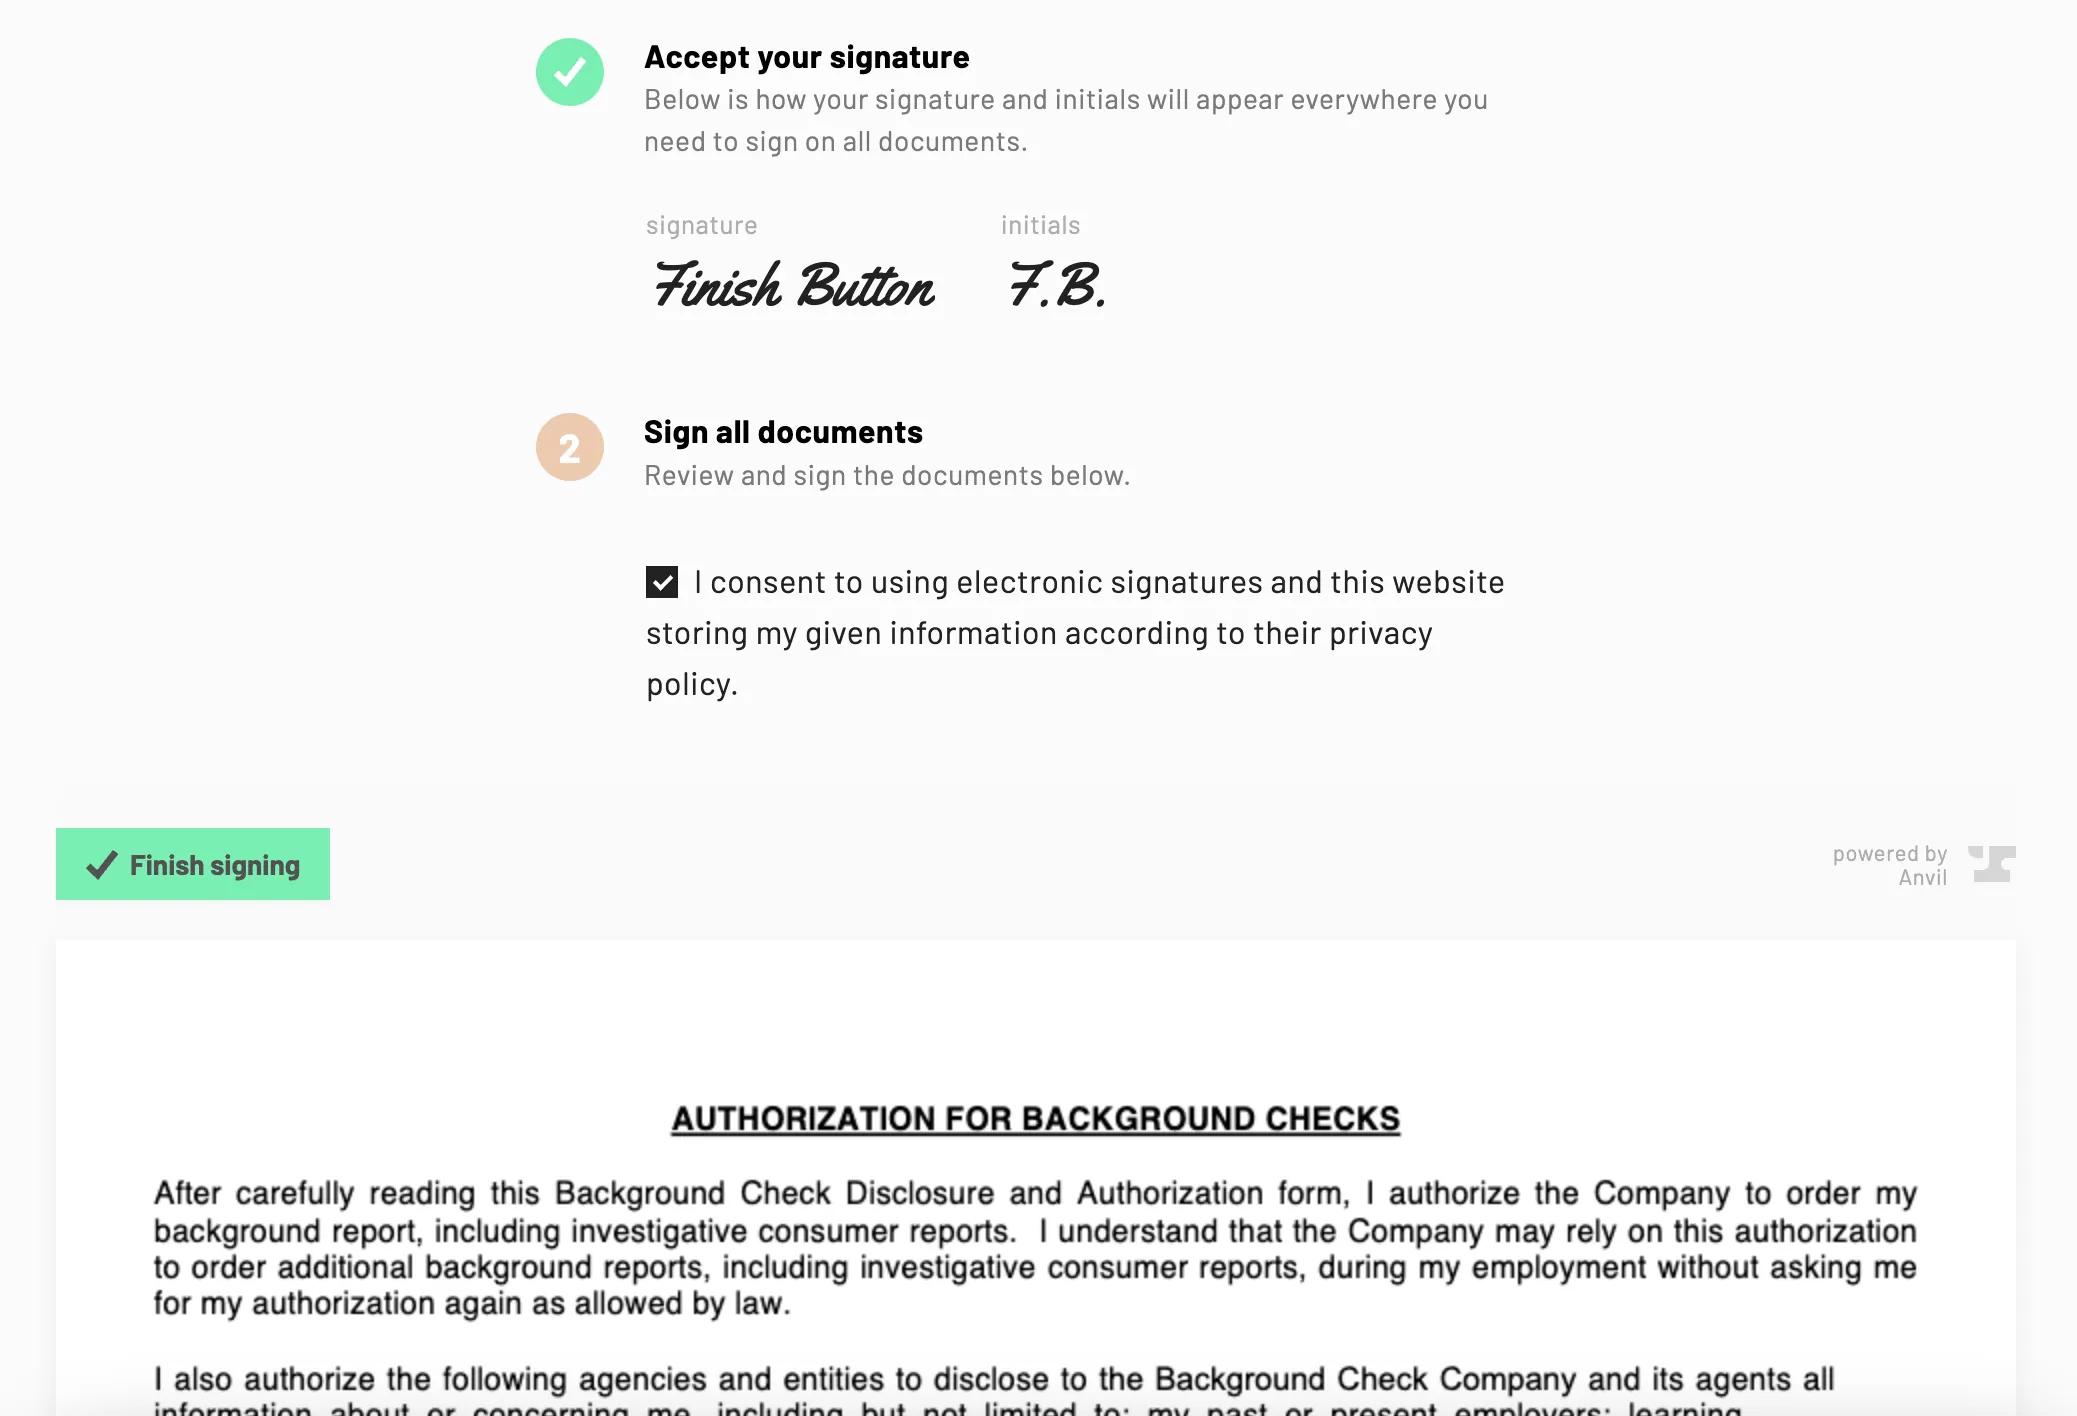
- When not selected, signers will immediately finish signing as soon as their last signature has been signed.
Add a UUID and Timestamp to the signature
This option is not selected by default and only applies to Signature and Signature Initials type fields. UUIDs and Timestamps will not be applied to Signature Date type fields.
Please note that the signature UUID and Timestamp will not appear on the documents until all parties have finished signing.
- When selected, signatures will include a timestamp above the signature and a unique user identification (UUID) below.
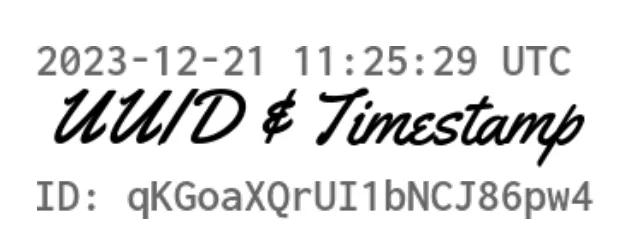 Completed signature with UUID and Timestamp
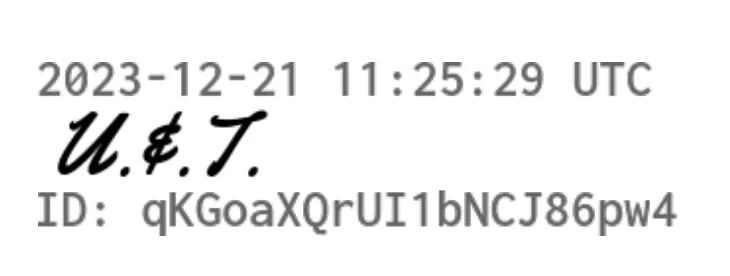 Completed initials with UUID and Timestamp
 - When not selected, signatures will not include UUIDs and TImestamps.
Signer types
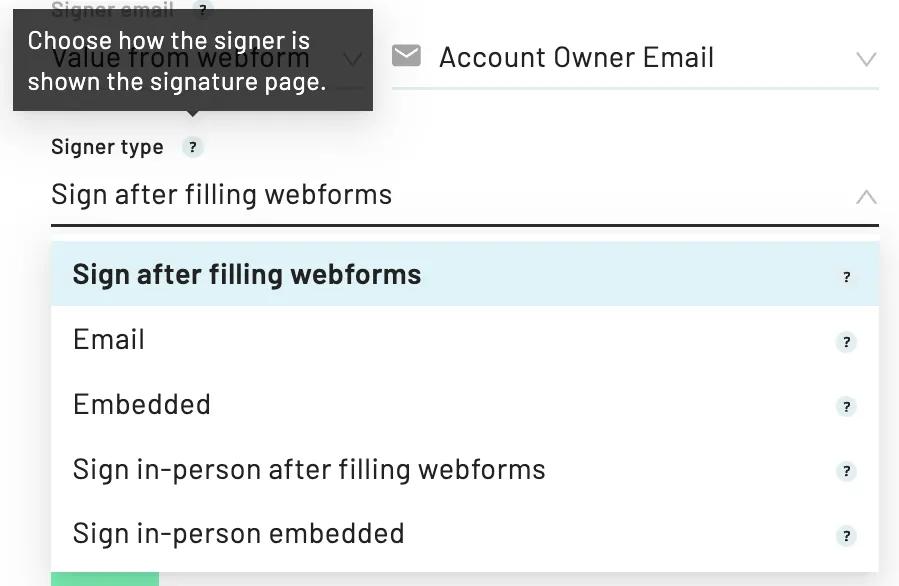
Signer types determine how and when the signature page is presented to the signer and is configurable at the individual signer level.
Available options vary depending on your plan and whether or not signatures are being collected as part of a Workflow or as a standalone Etch packet.
- Sign after filling webforms: (Workflow only) A seamless experience where the signer will sign immediately after completing the last Webform.
- This option is only available to the first signer.
- Email: Signers will receive an email with a signature link when it’s their turn to sign.
- Embedded: An iframe-embeddable signature link will need to be created programmatically and sent to the signer. Please see our documentation for more details.
- Sign in-person after filling out forms * : Similar to signing after filling Webforms, signers will sign immediately after completing the last Webform.
- This option is only available to the first signer. In-person signers do not require a signer email address and are instead verified by our system.
- Sign in-person embedded * : Similar to embedded signers, signers will need to be sent a signing email. If the signing experience is not embedded in an i-frame, signers will need to download, print, sign, and upload their documents.
- This method does not require a signer email address and is instead verified by our system.
* This option is only available on Custom plans. Please see our pricing page for more information.
Configuring signer options and types
By default, a majority of the signer options are selected and the first signer is set to sign after filling Webforms. You can configure and update your signer options and types by following these steps:
- Navigate to the Signer editor
- Add a new signer or select an existing signer
- Select or deselect relevant signer options
- Click on the Signer type field
- Select your desired option from the dropdown menu
- Save
Note: Signer settings are configured at the individual signer level, which means you can create a custom experience for each signer.