You can control the visibility of individual Webform fields by adding conditional logic.
In this article, we’ll show you how to add, edit and remove conditional logic from a Webform field.
Add conditional logic to a Webform field
You can control whether or not an individual Webform field is visible by adding conditional logic. You can add multiple conditions if you’d like and these conditions can be added as AND or OR expressions.
To add conditional logic to a Webform field:
- Navigate to the Workflow editor
- Select the Webform field you want to hide
- Click the Field logic tab in the Webform editor panel to the left
- Select Add condition
- Click Form Field > choose the Webform field you want to base the logic on from the dropdown menu
- Add a Condition using the dropdown menu
- Save
Repeat steps 4-7 to add more conditions to the page’s visibility logic.
Notes:
- You can only base your field logic on fields that appear in the Webform or Workflow before your current field.
- Available conditions depend on the field type you’re basing your field logic on.
Edit or remove a Webform field’s conditional logic
Has the logic for your Webform field changed? Updating or removing field logic is easy! Keep your Webform fields up to date by editing or removing some or all of your visibility conditions.
To edit or remove a Webform field’s conditional logic:
- Navigate to the Workflow editor
- Select the Webform field you wish to edit
- Click the Field logic tab in the Webform editor panel to the left
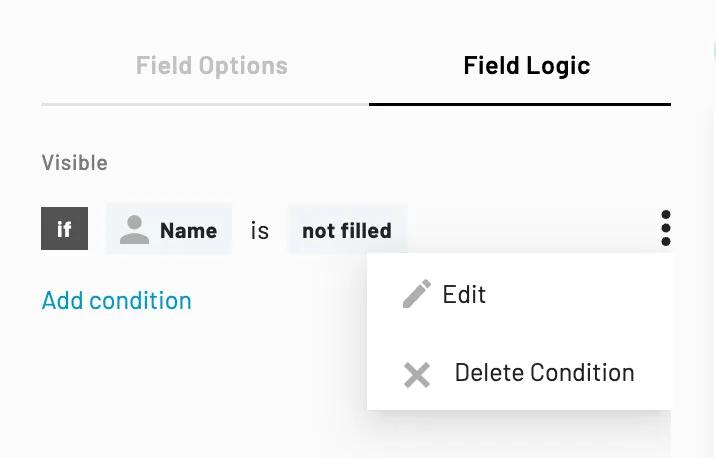
- Select the three vertical dots next to the condition you want to edit or remove
- Choose your desired action from the dropdown menu

- Edit > Make your desired changes > Save
- x Delete Condition > OK
Repeat steps 4-5 to edit or remove more field logic conditions.
Back to Help Center